How to Make Scroll-Stopping Pins in Canva (Free, No Design Skills)
Canva is the great equalizer — it lets a total non-designer (hi, that was me) make Pins that look like a pro made them. Here’s the exact free workflow I use.
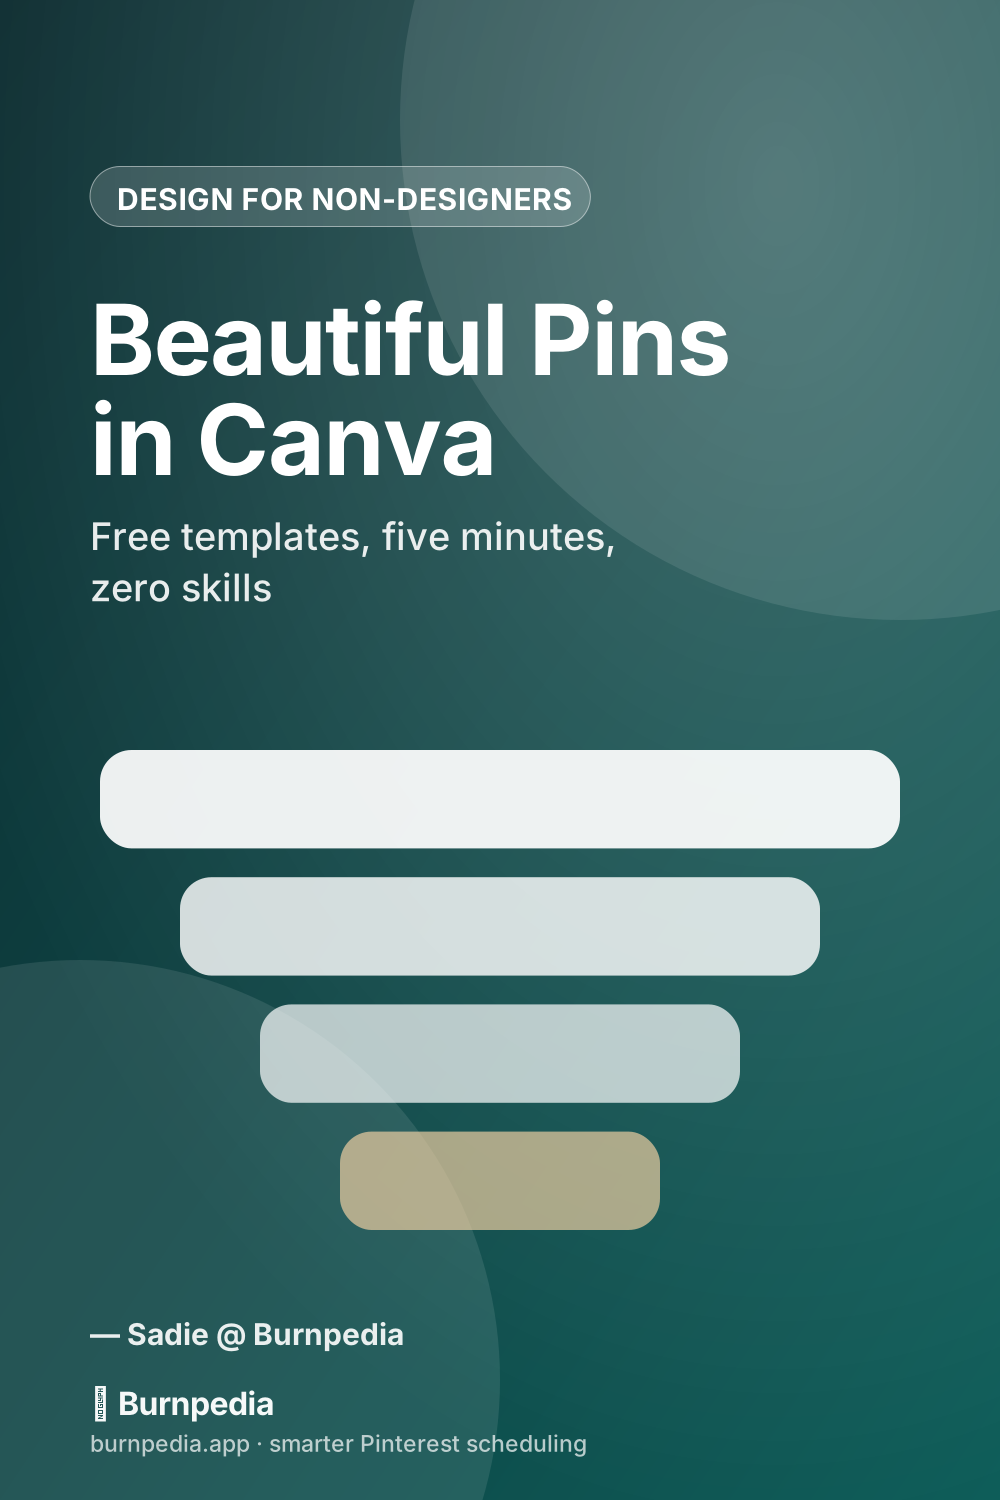
Confession time: I cannot draw a straight line. When I started on Pinterest, my Pins looked like a ransom note designed by a raccoon. Then I found Canva, and honestly, it changed everything — because Canva does the “being good at design” part so you can just focus on the message.
So today I’m going to hand you my exact free-Canva workflow. No paid account needed. By the end you’ll be able to sit down and crank out a genuinely good-looking Pin in about five minutes. Let’s go.
First, the setup that saves you every time
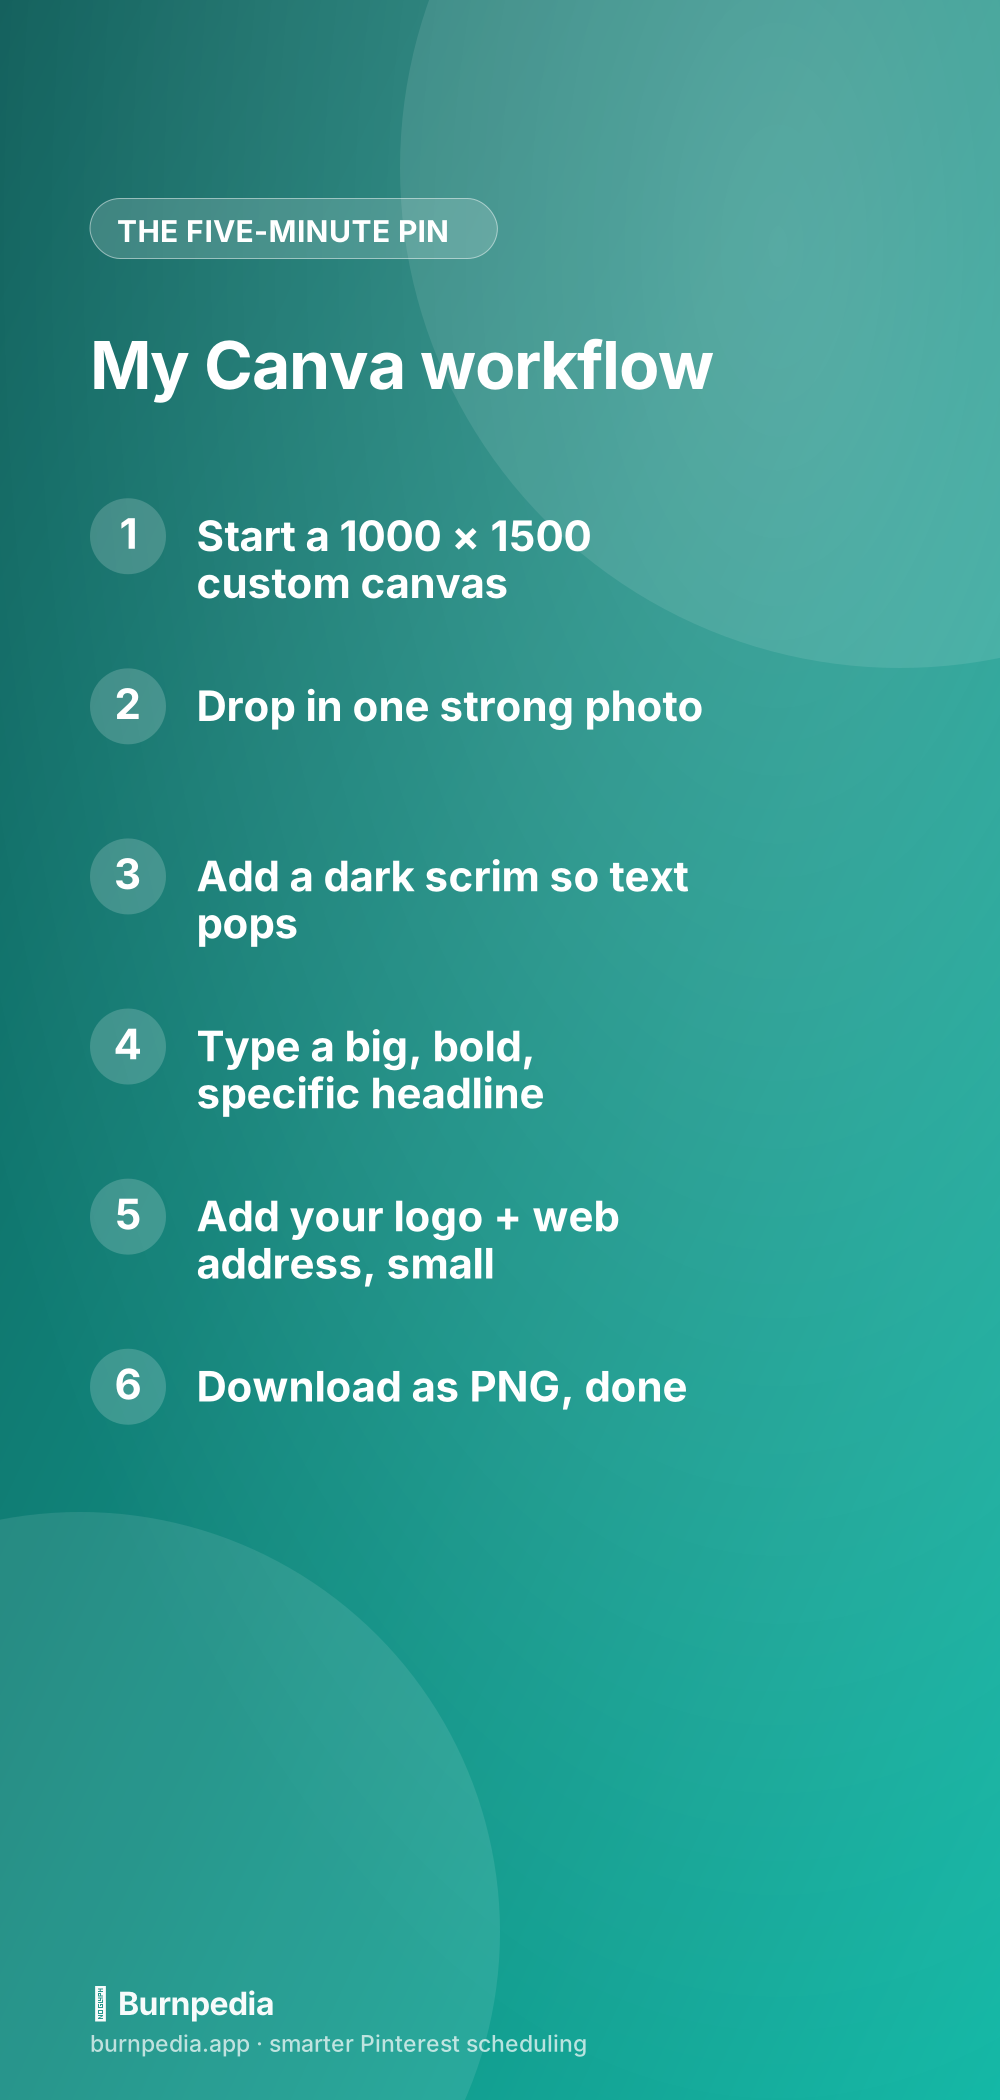
Open Canva, click “Create a design,” choose “Custom size,” and punch in 1000 × 1500 pixels. That’s the golden 2:3 Pinterest ratio — if you want the why behind that number (plus every other Pinterest size), I’ve got a whole cheat sheet here: the best Pinterest image size. But for now, just trust me: 1000 × 1500.
Now, do yourself a favor: once you’ve got one Pin you love, save it as a template (Canva lets you duplicate a design in one click). Future-you will make ten new Pins by swapping the photo and the words, not starting from a blank page every time. That’s the real secret to volume.
The anatomy of a Pin that stops the scroll
Every strong Pin I make in Canva has the same handful of parts. Copy this and you’re 90% of the way there.
1. One good photo, full-bleed
Drag a single high-quality photo so it fills the whole canvas. One photo, not a collage. Canva’s free photo library is huge, or use your own. Busy, cluttered images lose every time to one clear, well-lit subject.
2. A dark scrim so your words survive
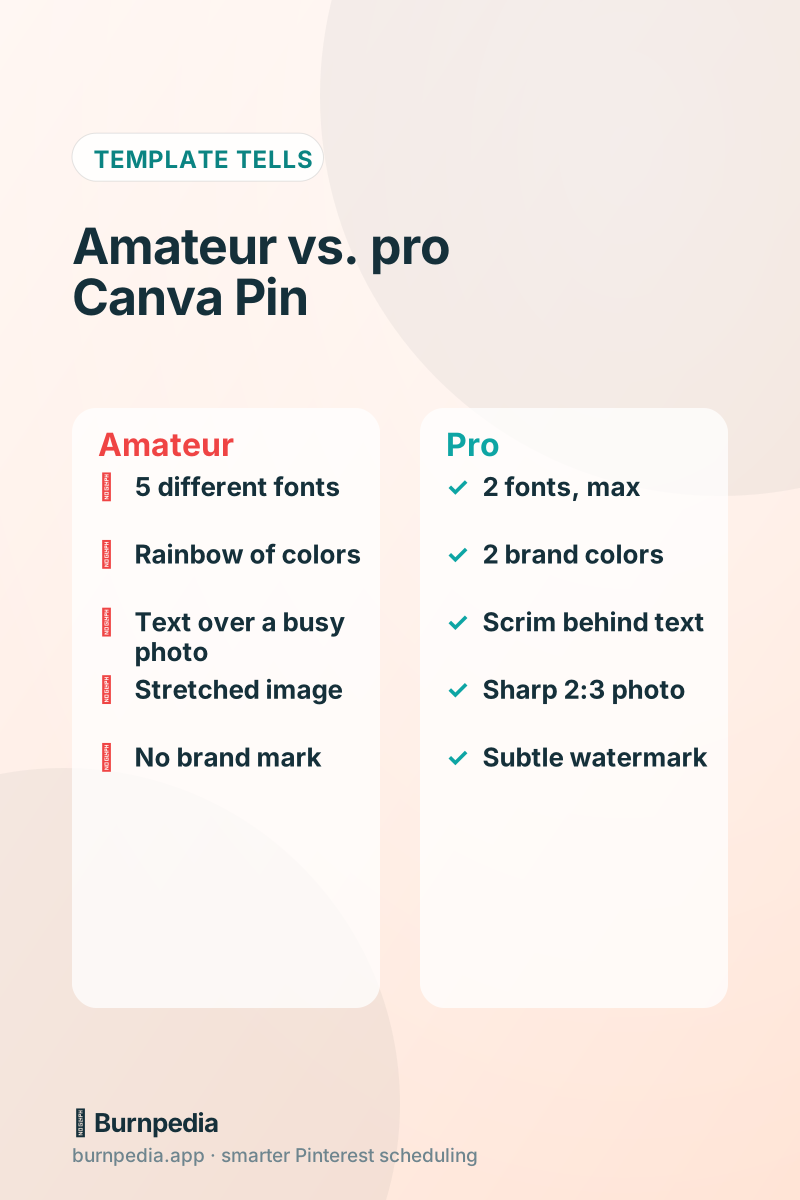
Here’s the trick that instantly makes you look pro: add a rectangle over the photo, make it black, and drop its transparency to around 30–40%. That’s a “scrim,” and it’s the reason your white text stays readable no matter what’s in the photo behind it. Amateurs skip this and end up with text you can’t read. Don’t be an amateur.
3. A big, bold, specific headline
This is the whole ballgame. Your headline should make a fast, specific promise — “15-Minute Lazy Dinners,” not “Some Recipes.” Make it big enough to read as a thumbnail. If you want help writing headlines that actually pull clicks, my pin design post goes deep on the words themselves.
4. A tiny brand mark
Add your logo or just your website address, small, in a corner. This isn’t decoration — it’s so that when your Pin gets saved and re-saved across Pinterest, people know where it came from. Small, though. A giant logo is a rookie tell.
The design rules that keep you out of trouble
Canva makes it easy to make good Pins and just as easy to make chaotic ones. These guardrails keep you on the good side:
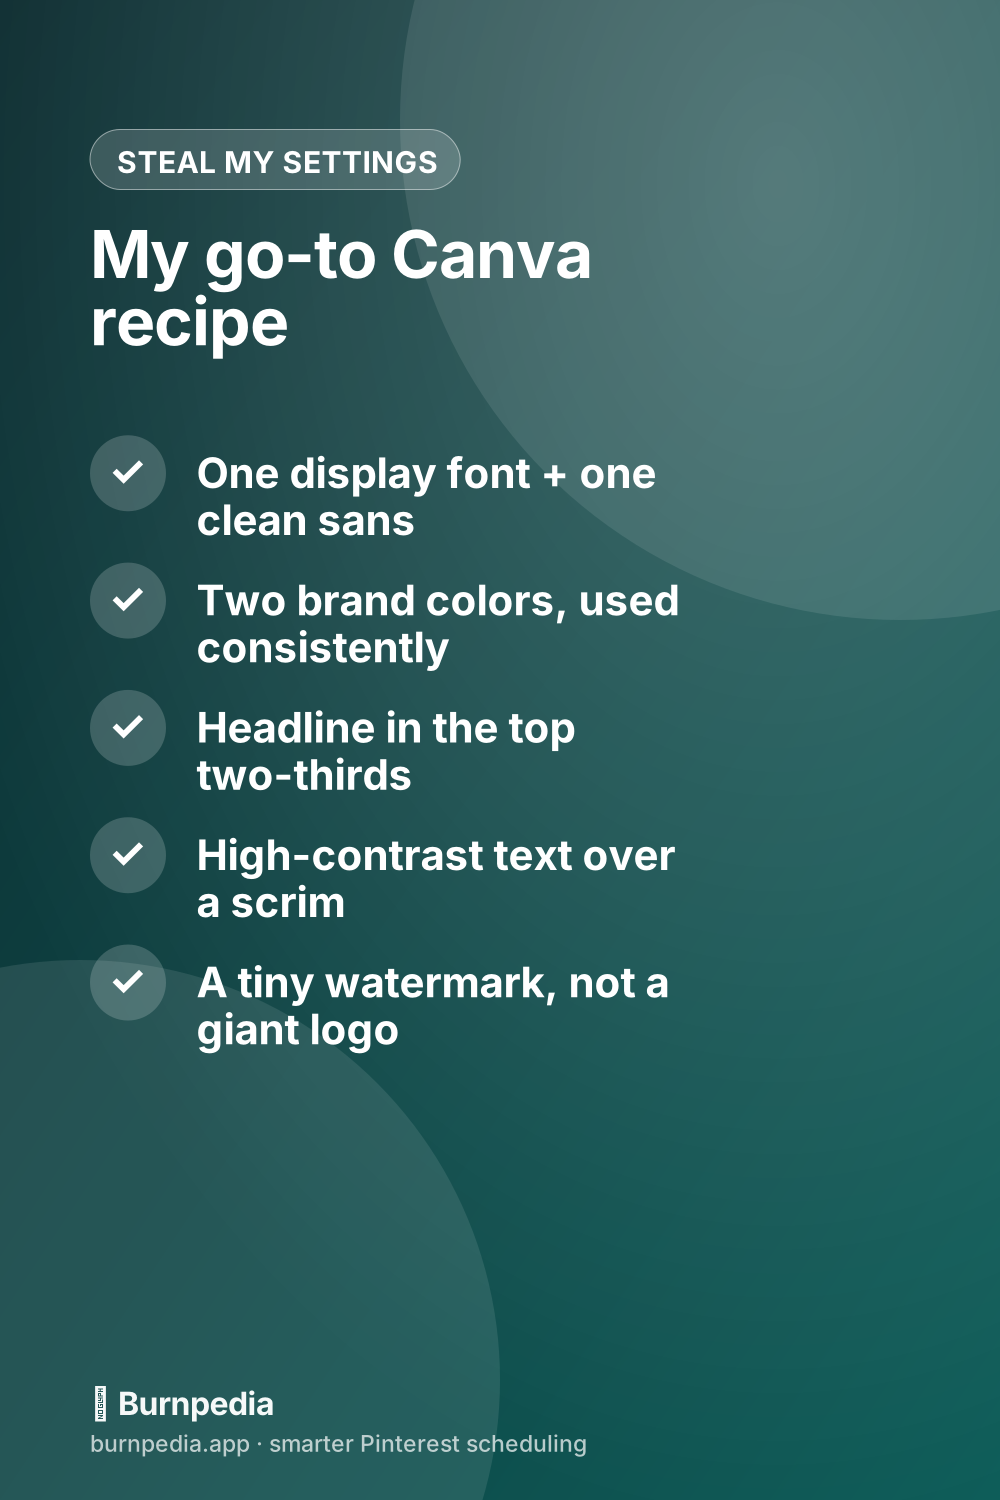
- Two fonts, max. One characterful “display” font for the headline, one clean sans-serif for everything else. Five fonts is how you get the ransom-note look.
- Two brand colors. Pick a main color and an accent, and use them on every Pin. Consistency is what makes a feed look like a brand instead of a junk drawer.
- Contrast is king. Light text on a dark scrim, or dark text on a light band. If you have to squint, so will everyone on their phone.
- Leave breathing room. Don’t cram text to the very edges. A little margin looks expensive.
The part where Canva gets tedious (and how I skip it)
Real talk, though: Canva is lovely for one Pin. It gets tiring when you need ten fresh Pins a week, every week, because Pinterest rewards fresh designs. That repetitive resize-swap-export grind is exactly the chore I got sick of — and it’s the whole reason I lean on a tool that spits out a finished, correctly sized Pin from just a title. You can read how I turn one article into a pile of fresh Pins here: turn one blog post into a month of Pins.
Go make one right now
Seriously — open Canva, make a 1000 × 1500 canvas, drop in a photo, add a scrim, type a bold promise, and export. That’s a real, click-worthy Pin, and it took you five minutes. Save it as a template and the next one takes two.
Design used to be the thing that stopped people from ever starting on Pinterest. It’s not anymore. And once you can make a Pin, the next lever is making them findable — so hop over to my Pinterest SEO guide next. Now go make something pretty. — Sadie
Written by Sadie Brooks
Hey — I’m Sadie. I grew up in a small town outside Columbus, Ohio, moved to Austin for a job I quit within a year, and somewhere in between I started a scrappy little food blog to keep myself sane.
These days I help creators, bloggers, and small U.S. business owners grow on Pinterest without turning it into a second full-time job. I write the Burnpedia blog because I genuinely love this stuff, and because I wish someone had explained it to me in plain English years ago. Pour a coffee, pull up a chair.
Try Burnpedia freeWant Pinterest to run itself?
Every tip on this blog gets easier when your Pins publish on schedule. Burnpedia batches, times, and posts them for you — start free, no credit card.
Try Burnpedia free