Rich Pins Explained: What They Are & How to Set Them Up (Step by Step)
Rich Pins are the free upgrade almost nobody bothers to switch on. They make your Pins look more legit, rank a little better, and take about twenty minutes to set up. Let’s do it together.

Let me guess: you’ve heard the phrase “Rich Pins” floating around, nodded along like you knew exactly what it meant, and then quietly hoped nobody would ask you to explain it. No judgment — I did the exact same thing for about a year. So let’s fix that today, over coffee, in plain English.
Here’s the one-sentence version: a Rich Pin is a normal Pin that pulls extra info straight from your website — the real title, the site name, and (for products) the live price and stock. That’s it. It’s free, it takes maybe twenty minutes, and it’s one of those setup jobs you do once and then never think about again.
I’m going to walk you through what they are, why they’re worth the tiny bit of effort, and the exact click-by-click setup. By the end you’ll have them switched on. Pinky promise.
So what actually makes a Pin “rich”?
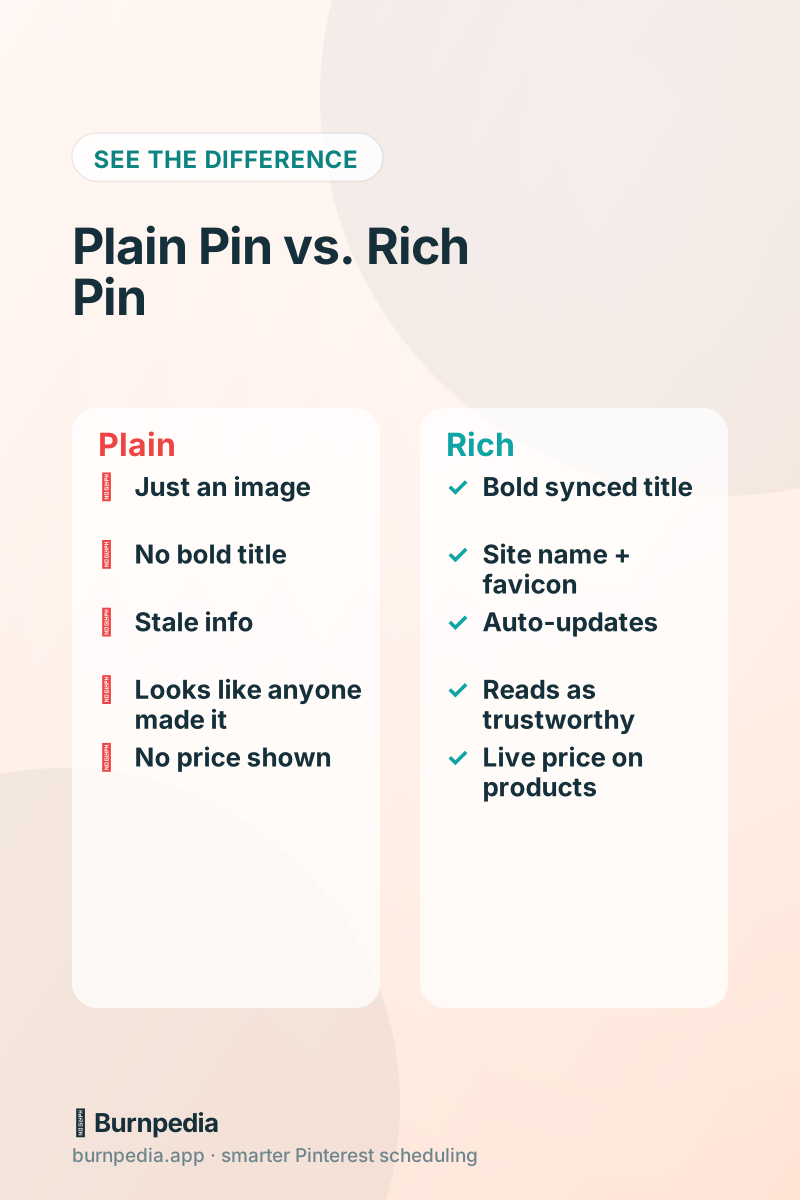
A regular Pin is basically just your image plus whatever title and description you typed. A Rich Pin goes and reads little bits of code on your website (called metadata — don’t let the word scare you) and syncs that info onto the Pin automatically.
The visible payoff: your site name shows up with a little favicon under the image, the title appears in bold, and if you ever change the info on your site, the Pin quietly updates itself. For online shops, product Rich Pins even show the current price and whether the item’s in stock.
There used to be a few different flavors — article, recipe, product, app. These days Pinterest keeps it simpler, but the idea is the same: your Pin borrows trustworthy details from the source instead of relying on whatever you remembered to type at 11pm.
Why bother? Three honest reasons
I won’t oversell this — Rich Pins aren’t a magic traffic button. But they’re a free, permanent little edge, and free permanent edges are my favorite kind.
- They look more credible. That bolded title and site name make your Pin read as “a real business made this,” which nudges more people to trust the click.
- They give Pinterest more context. More accurate info about your page means Pinterest understands it better — and understanding is half the battle in search. (I go deep on that in the SEO post below.)
- They stay current. Change a headline or a price on your site and you don’t have to touch a single old Pin. Everything updates on its own.
That middle point is the sneaky-important one. Pinterest is a search engine wearing a scrapbook costume, and everything it does starts with figuring out what your stuff is about. If you want the full picture of how that works, I broke it all down in how the Pinterest algorithm really works — Rich Pins are basically you handing the algorithm a cleaner cheat sheet.
The actual setup (this is the part you came for)
Good news: the hard part is usually already done for you by a plugin. Let me give you the WordPress path first, since that’s what most bloggers are on, then the Shopify path. While you are in there, our free WordPress plugins cover the other half of the job — turning each published post into a Pin — so you are not installing two things on two different days.
If you’re on WordPress
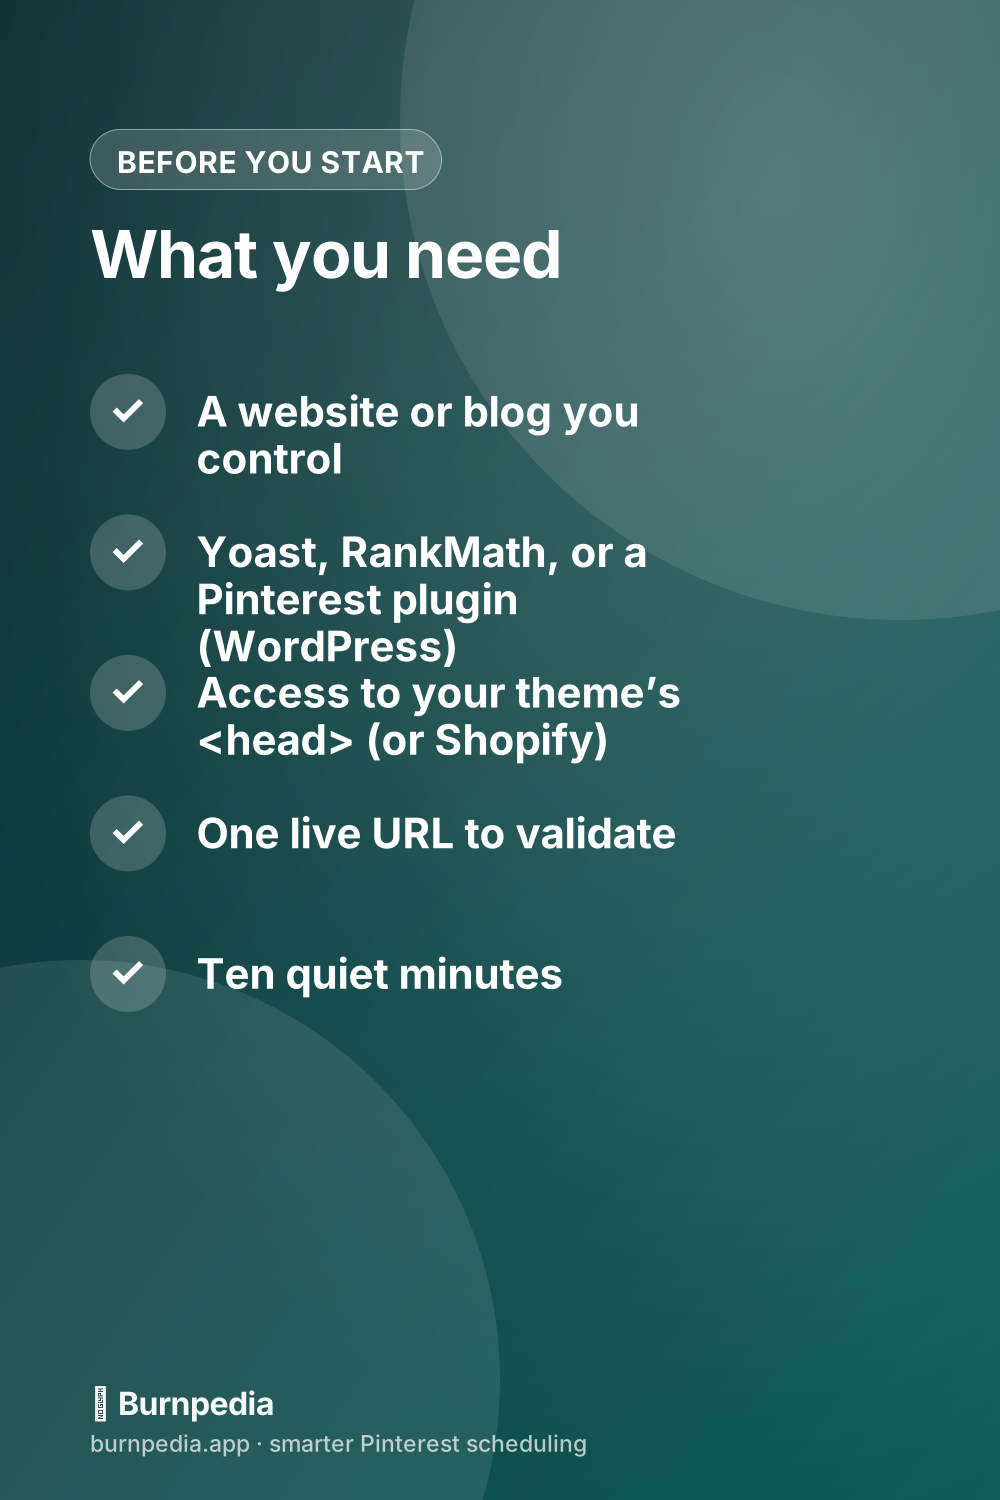
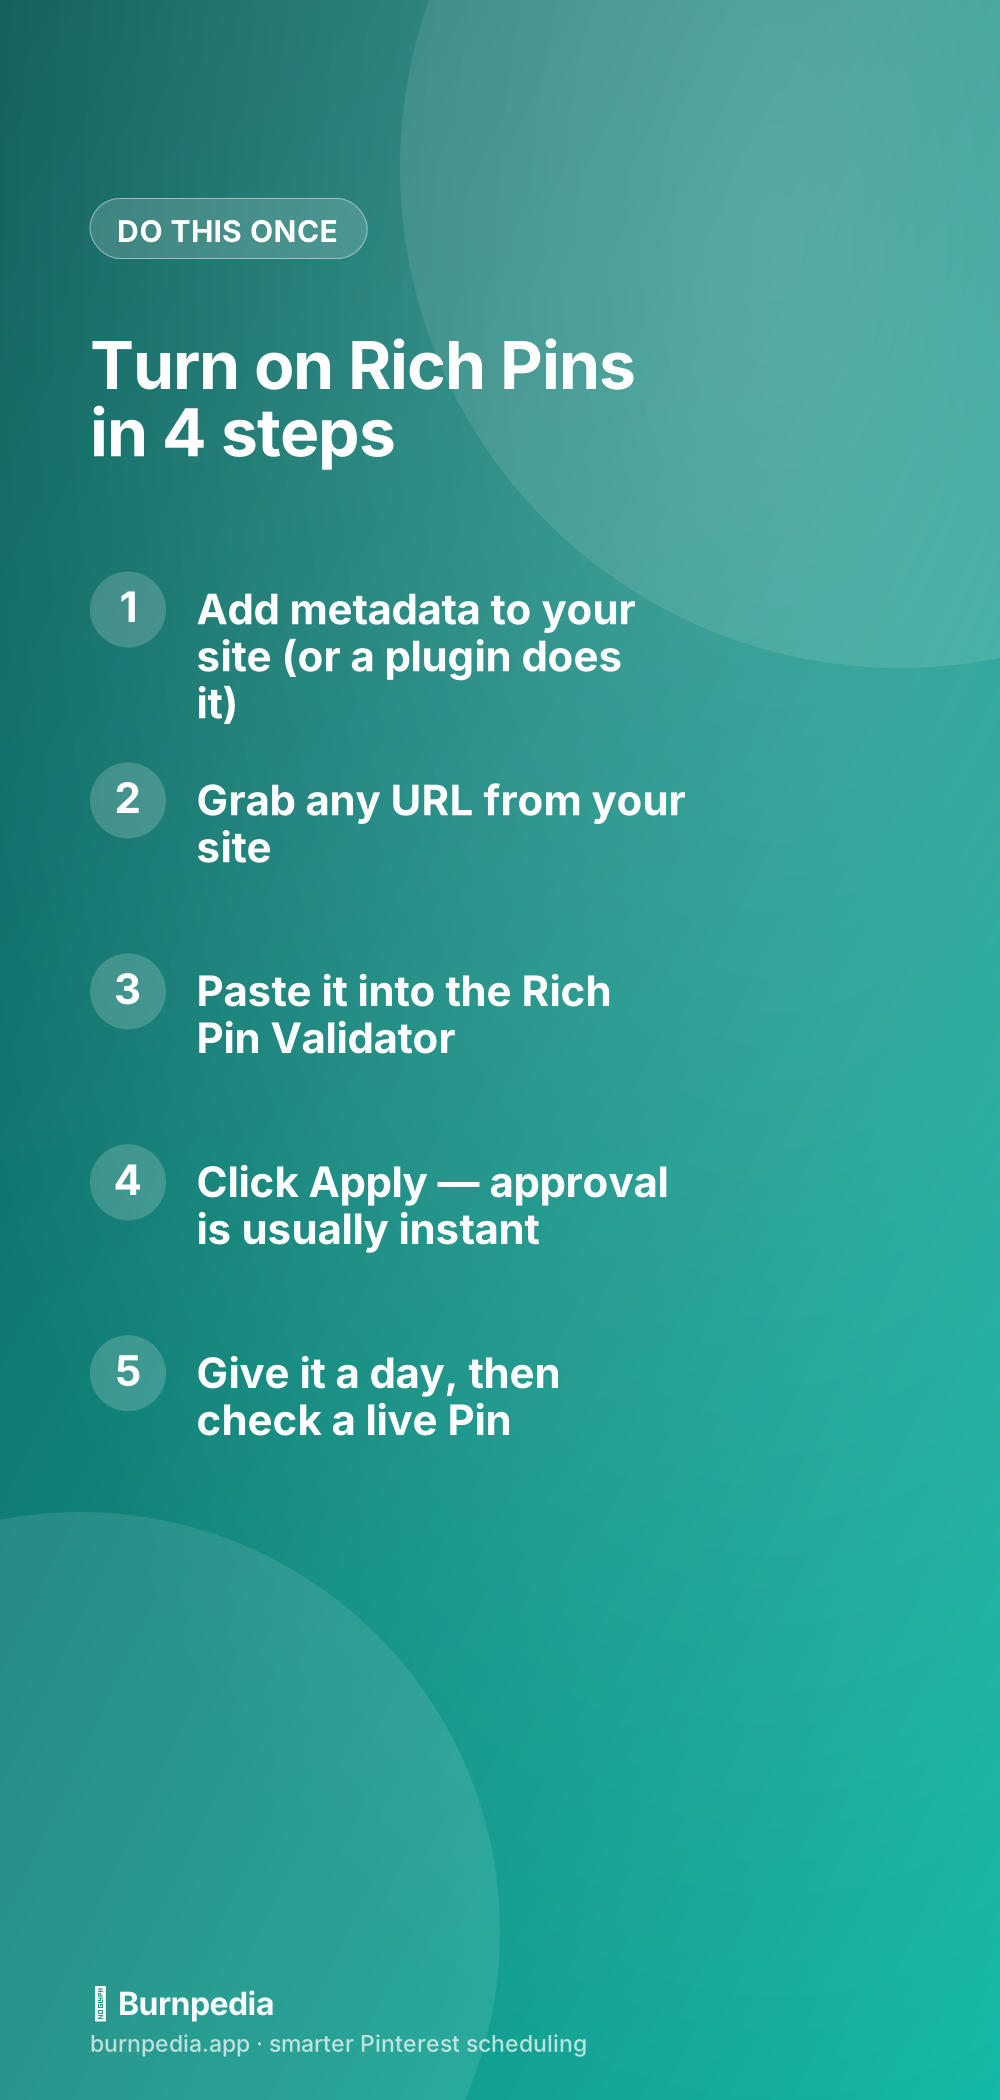
You almost certainly already have an SEO plugin like Yoast or RankMath. Those add the exact metadata (called Open Graph tags) that Rich Pins need — so you’ve done step one without realizing it. If you don’t have one, install Yoast (the free version is plenty) and you’re set.
If you’re on Shopify
Shopify includes product metadata out of the box, and there’s an official Pinterest app in the Shopify app store that wires up Rich Pins and the tag for you. Install it, connect your account, and it handles the plumbing. I walk through the whole Shopify side of things in its own post if you want more.
Then, the one manual step: validate
Go to Pinterest’s Rich Pin Validator (search “Pinterest rich pin validator” — it’s an official Pinterest developer page), paste in any single URL from your site, and hit Validate. If your metadata’s in place, you’ll see a preview and an “Apply” button. Click it. Approval is usually instant or within a day, and once it’s on, it applies to every Pin from your whole domain — not just that one URL.
A few things that trip people up
- Nothing shows up right away. Give it up to 24 hours, then check a brand-new Pin (old ones can take longer to refresh).
- The validator throws an error. Nine times out of ten it’s a missing plugin or a caching plugin hiding your metadata — clear your cache and try again.
- You expected it on every Pin instantly. Rich Pin data appears as Pinterest re-crawls your pages, so it rolls out gradually, not with a flip of a switch.
Do this today, thank yourself later
Seriously, this is a “set it and forget it” job. Twenty minutes now buys you Pins that look more professional and stay accurate forever. Add your SEO plugin, run one URL through the validator, and go live your life.
And once your Pins look the part, the next question is keeping a steady stream of them going out — which is the whole reason I built Burnpedia. Batch a week of Pins on a Sunday, let them publish themselves at good times, and pair that rhythm with dialed-in Pinterest SEO so each one gets found. You can try it free whenever you’re ready. Now go flip those Rich Pins on. — Sadie
Written by Sadie Brooks
Hey — I’m Sadie. I grew up in a small town outside Columbus, Ohio, moved to Austin for a job I quit within a year, and somewhere in between I started a scrappy little food blog to keep myself sane.
These days I help creators, bloggers, and small U.S. business owners grow on Pinterest without turning it into a second full-time job. I write the Burnpedia blog because I genuinely love this stuff, and because I wish someone had explained it to me in plain English years ago. Pour a coffee, pull up a chair.
Try Burnpedia freeWant Pinterest to run itself?
Every tip on this blog gets easier when your Pins publish on schedule. Burnpedia batches, times, and posts them for you — start free, no credit card.
Try Burnpedia free